An ice sculpture may only last for a few hours, but the most dedicated artists spend years honing the skills it takes to craft these exquisite works of art. Ice is the primary or sole medium in creating this type of sculpture. Owing to the volatility of the raw material, ice sculptures are often deemed too extravagant for informal occasions. Although it’s a mainstay in formal events, you can get an ice sculpture to perk up your engagement party, wedding, birthday, as well as any corporate event.
There are several factors to consider when creating ice sculptures. The artists must be well-trained in handling such delicate raw material. Let’s go behind the scenes and uncover how ice sculptures are carved and how artists ensure their intricate ice crafts are delivered to you in perfect form.
Materials & Tools
A clear ice, devoid of impurities, is ideal for carving. Blocks of ice must be carefully selected based on the type of sculpture the artist wishes to make. Ideally, dyes can be added to make colored blocks for special purposes.
Types of Ice
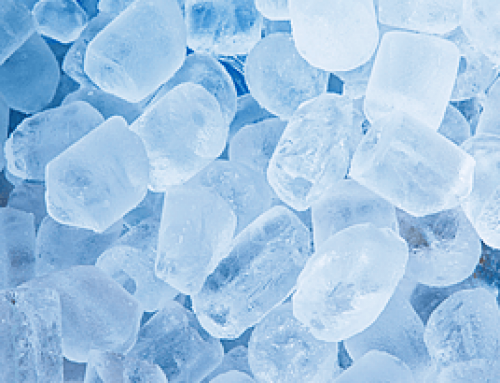
- Clear Ice – also known as Clinebell blocks, are crystal-clear blocks of ice produced by a block maker machine — simply known as a Clinebell machine. These machines produce crystal clear blocks instead of the cloudy cubes from most freezers by freezing water from the bottom up. Pumps also circulate the water to prevent bubbles and impurities that get trapped under the upper layer of ice. The machine produces two 15-lbs blocks of ice every three days. The advantage of this type of ice is clarity and consistency — each block measures 40″x 20″, with a depth of 91/2″-10″.
- Can Ice – this inexpensive type of ice is made by placing the can in brine and generating a core with a pump, which stirs the water in such a way that impurities settle in the center. Can ice comes out of the freezer ready to be carved, and aside from its attractive price, it is also produced faster than other types of ice.
- Natural Ice – this type of ice is formed from man-made ponds sans bubbles and algae. Natural ice comes in different sizes and with a dazzling blue color. Large ice sculpting events, such as the ice sculpture World Championship in Alaska, uses this type of ice.
Ice Sculpting Tools and Techniques
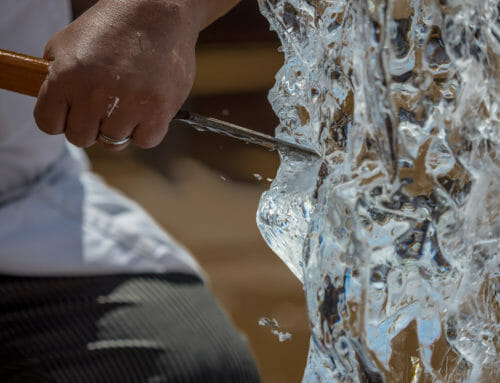
Using power tools such as a chainsaw or die grinder, fitted with specialty bits, can make ice carving easier. It is possible for a seasoned sculptor to finish a piece in less than 15 minutes using these tools.
The most common hand tools used for carving include hand saws, chisels, ice tongs, jigs, compasses and chippers. These tools are specifically designed for ice carving. Large and intricate sculptures, such as company logos, are often made by machines and molding systems.
A desired color can be added to the sculpture using colored gelatin, paint, and paste. Fine ice and snow mixture are applied on engraved logos to make the letters appear white.
7 Steps in Ice Carving
Designing – make a template using wallpaper. It is convenient to use wallpaper in making silhouettes because they don’t tear when they get wet. You can practice drawing your design first to have a good grasp of the artwork before drawing it on the template paper. Draw one silhouette on the paper, wet it, and transfer it to one side using a die grinder with a tracing bit. You can transfer your design on the block with a permanent marker if you’re carving dry ice.
Cutting Out – Remove the template paper. Wear a pair of thermal gloves and cut out the silhouette using a chainsaw. Be precise: keep your cuts at 90 degrees, and avoid overcutting. For tight turns and spaces, use a die grinder.
Blocking In – the process of creating layers and levels: one of the most difficult process to learn. Use a die grinder to carve in the reference lines, and chainsaw and chisel to push back levels.
Rounding – cut off the corners of the piece using a chain saw, chisel, and die grinder with a shaping bit attached.
Sanding – once the levels and layers are out, begin sanding with an angle grinder or pistol grip sander. Smoothen the corners and edges and the areas you want to be free of tool marks.
Detailing – carving action takes place at this stage. The more intricate details, such as facial features and textures, are created using a die grinder with a Vee bit or other similar bit.
Cleaning – clean all drips, slush, and tool marks. Use water for ice above 50 degrees. Propane for 30-50 degrees. Use chisel if the temperature is below 30 degrees. A brush can be used for ice in varying temperatures.


Leave A Comment