
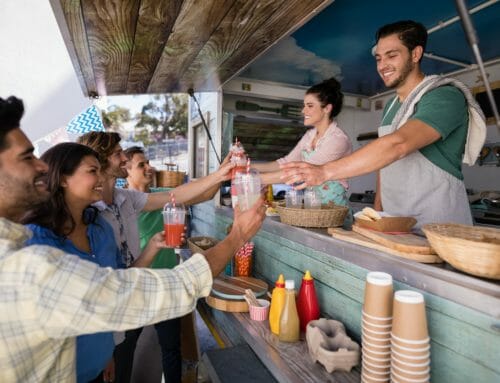
Ice seems simple. You freeze water, put it in a cooler, and expect it to last. But when you’re hosting a party, planning an event, or setting up outdoor refreshments, you quickly realize how fast ice can disappear.
Whether you’re preparing for a wedding, backyard barbecue, corporate event, or beach gathering, keeping ice from melting too quickly can save you time, money, and stress.
Below are four proven strategies to help your ice last longer—plus additional tips to maximize results.
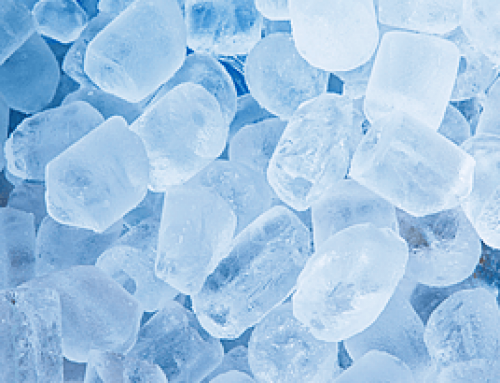
Why Ice Melts So Quickly
Before diving into solutions, it helps to understand the basics.
Ice melts because it absorbs heat from:
- Warm air
- Direct sunlight
- Warm surfaces
- Frequently opened containers
- Empty air space inside coolers
The goal is simple: reduce heat exposure and improve insulation. The following tips focus on doing exactly that.
1. Line Your Cooler or Ice Bucket with Aluminum Foil
Aluminum foil acts as a reflective barrier. It helps bounce heat and sunlight away from your ice instead of allowing it to absorb into the container.
How to Do It
- Line the inside of your cooler or ice bucket with a single layer of aluminum foil.
- Wrap the outside of the container as well.
- Wrap horizontally first.
- Then wrap vertically.
- Fold the top edges neatly so you can still open and close the lid easily.
This creates an extra thermal barrier.
Why It Works
Aluminum foil reflects radiant heat. When you open the lid, sunlight and warm air enter. The reflective surface helps reduce how much of that heat reaches the ice.
This tip is especially useful for:
- Outdoor parties
- Beach events
- Backyard gatherings
- Catering setups exposed to sunlight
It’s inexpensive, quick, and surprisingly effective.
2. Use Larger Ice Blocks Instead of Small Cubes
Not all ice melts at the same rate.
The size of the ice matters more than most people realize.
The Science Behind It
Large ice blocks have less surface area exposed compared to small cubes or crushed ice. Less exposed surface means slower melting.
Think of it this way:
- Crushed ice = maximum surface area = melts fast
- Standard cubes = moderate melting
- Large blocks or slabs = slowest melting
What to Use for Different Events
- Large blocks or slabs – Best for long events or drink stations
- Standard cubes – Good balance of usability and longevity
- Crushed ice – Best for short-term serving (snow cones, displays, seafood)
If longevity is your priority, choose large-format ice whenever possible.
Pro Tip
You can combine large blocks with cubes. Place blocks at the bottom of the cooler and layer cubes on top. The blocks act as a cold base that slows overall melting.
3. Keep Ice Out of Direct Sunlight & Heat
Even the best cooler won’t perform well if it’s sitting in direct sunlight.
Best Placement Options
- Indoors in air-conditioned space
- Under a shaded patio
- Beneath a canopy or tent
- Under a table with a covering
- In the shadow of a building or tree
If outdoors, avoid:
- Concrete in full sun
- Metal tables
- Car trunks without ventilation
Additional Placement Tips
- Keep coolers off hot pavement. Place cardboard or a towel underneath.
- Keep them away from grills or cooking stations.
- Store them in the lowest, coolest area available.
Heat rises, so lower placement can help slightly reduce exposure to warm air.
Every degree matters when preserving ice.
4. Keep the Cooler Full
Air is the enemy of ice.
Empty space inside a cooler allows warm air to circulate. That warm air speeds up melting.
Why a Full Cooler Works Better
- Ice chills surrounding ice.
- Less air space means less heat transfer.
- Dense packing slows temperature changes.
How to Maintain Fullness
- Fill the cooler completely before the event starts.
- Store backup ice in a freezer.
- Refill immediately as levels drop.
- Add frozen water bottles to take up space.
If you don’t have enough ice to fill the container, use:
- Frozen gel packs
- Frozen water jugs
- Tightly packed towels
The goal is simple: eliminate excess air.
Bonus Tips to Make Ice Last Even Longer
To maximize results, combine the four main strategies above with the following additional techniques.
Pre-Chill Your Cooler
Never add fresh ice to a warm cooler. Before your event:
- Fill the cooler with sacrificial ice or cold water.
- Let it sit for 30–60 minutes.
- Dump the water.
- Add your fresh ice.
This lowers the internal temperature and prevents immediate melting.
Limit Lid Openings
Every time the cooler opens:
- Warm air rushes in.
- Cold air escapes.
- Ice melts faster.
Assign one person to manage the cooler during events. Keep openings brief and purposeful.
Use High-Quality Insulated Coolers
Not all coolers are built the same. If you host events often, consider investing in:
- Thick-walled insulated coolers
- Commercial-grade containers
- Coolers with tight rubber seals
Better insulation dramatically improves ice retention.
Drain Melted Water Strategically
There’s debate about this.
Some believe draining water makes ice last longer. Others argue that cold water helps maintain temperature.
Here’s the balanced approach:
- If water is excessive and items are floating, drain some.
- If ice is mostly intact, leaving some cold water can help maintain internal temperature.
Avoid draining too frequently, as that introduces warm air.
Separate Drink Coolers from Ice Storage
If guests are constantly grabbing drinks, the cooler opens repeatedly. Instead:
- Use one cooler strictly for ice storage.
- Use another cooler for drinks.
This preserves your main ice supply.
Planning Ahead Makes All the Difference
Keeping ice from melting isn’t about one trick. It’s about combining strategies.
To summarize:
- Reflect heat with aluminum foil.
- Choose larger ice blocks.
- Keep containers shaded and cool.
- Fill the cooler completely.
- Pre-chill whenever possible.
- Limit lid openings.
Small adjustments create big results.
If you’re hosting a large event or need dependable, long-lasting ice, planning ahead ensures you won’t run out at the worst moment.
With the right preparation, ice can last far longer than expected.

some people are looking for some by hand not things that are already built so try put some things that can help people make things by hand.
Thanks
Absolutely helpful/informative. Thank you
thanks for the info
thanks for the tip!